Prepping My Base:
The first step, and possibly most important step in my makeup routine is primer! Many people don’t believe in using primer, but it truly can extend the life of makeup drastically if you choose the right primer for your skin type! My skin is very oily, however I’ve found a hydrating grippy primer has been the number 1 key to my makeup looking like real skin and last all day!
My FAVORITE primer of all time is the E.L.F. Power Grip Primer. The niacinamide properties of the product is hydrating and healthy for your skin, while the grip texture truly holds everything in place! I have found this to work great on days my skin is sunburned and dry/peeling too! You really can’t go wrong with it!

- MAKEUP PRIMER & SKINCARE: Your skin’s future looks bright—your favorite sticky AF Power Grip Primer is now infused with …
- SMOOTHS & BRIGHTENS COMPLEXION: Niacinamide helps smooth and brighten the look of dullness while Power Grip Primer’s gel…
- CREATES A DEWY FINISH: Ideal for all skin tones, this primer goes on completely clear and creates a dewy, glowing finish…
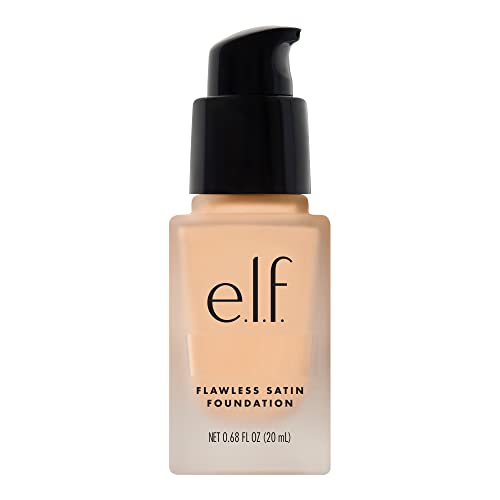
Step 2: Foundation
Finding the right foundation for my skin has also been crucial for making it last! I love something hydrating, but not too glowy. I don’t want my face to look like an oil-slick and this foundation has struck the perfect in-between for that! I always apply one pump to my skin and somewhat blend it out with my fingers before going in with a damp beauty blender to buff it smooth completely! I’ve found that blending in initially with the warmth of my fingers makes the product look so much more natural and skin-like than it would if I simply blended it out with the beauty blender alone.
This foundation does have a very limited shade range, so I’ve linked the E.L.F. Soft Glam Foundation that is nearly identical (maybe just a little more glowy)!

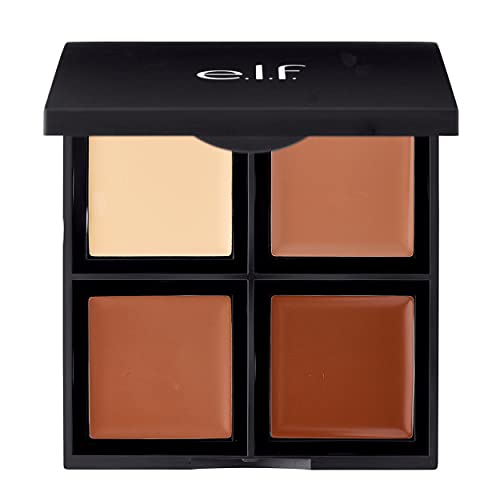
Step 3: Cream Face Products
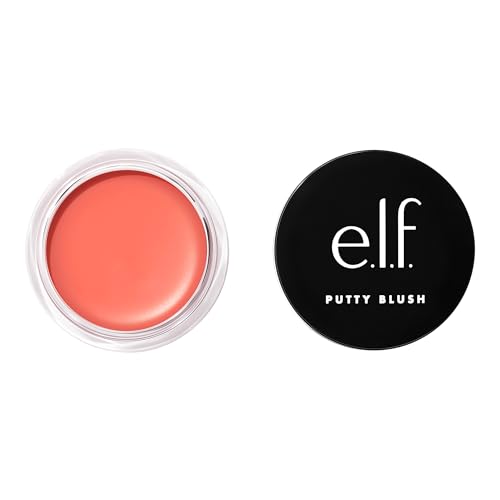
The next step in my makeup routine is cream products! I always start with my contour, carefully using that in places where I want to create shadow. Then I go in with my bronzer, adding it in places where I want to look more tan. Lastly, I add my cream blush on the highpoints of my face! I love a little bit of a sunburned look and will go in a little heavy-handed as it will tone down later in the makeup process.

Step 4: Concealer
Now I go in with concealer. I will place a light shade of concealer sparingly on my inner corner and outer edges underneath my eyes. Less it more when it comes to concealer. Too much will make your makeup look cakey and crease more easily. Next using the concealer, I highlight my nose and forehead. Finally, I blend out all of the places I added concealer with my beauty blender.

- Maybelline Concealer: In 12 shades, this oil free concealer matches skin tones to deliver a more even complexion, with a…
- A Shade That Fits Me: Maybelline Fit Me liquid concealer provides coverage for a wide array of skin tones, from Fair to …
- Maybelline Fit Me For A Flawless Face: With Dewy+ Smooth foundation with SPF 18, Matte + Poreless foundation, concealer,…
Step 5: Setting Powder
For my oily skin, setting powder is so important for making my makeup last. This setting powder has by far been the best, pore blurring, mattifying product I’ve been able to find. I usually buy it a few shades lighter than my actual skin tone so that it brightens my skin! I apply this lightly to my under-eyes and just underneath my cheekbone contour to add more definition.

- Fit Me Loose Finishing Powder is a mineral-based formula designed to help control shine and smooth skin texture with a h…
- A Shade That Fits Me: Maybelline Fit Me finishing powder provides coverage for a wide array of skin tones, from Ivory to…
- Best Face Forward: Maybelline has sheer, medium, and full coverage foundation in liquid and powder foundation formulas, …
Step 6: Powder Products
For my powder products, I prefer to go more subtle! I’ve been using the Essence Sun Club bronzer pallet for my bronzer, but it tends to be rather intense, and I can’t find the link to it, so I’ve added another of my favorites below! The Wet n Wild Color Icon Bronzer is easily one of my favorite bronzers as it has a healthy sheen to it that doesn’t make you look too shiny.
Next, I go in with my favorite Milani Rose Blush. I can honestly say that I haven’t found a high-end product that I like as much as this blush. It’s pore blurring, natural looking, and lasts all day!
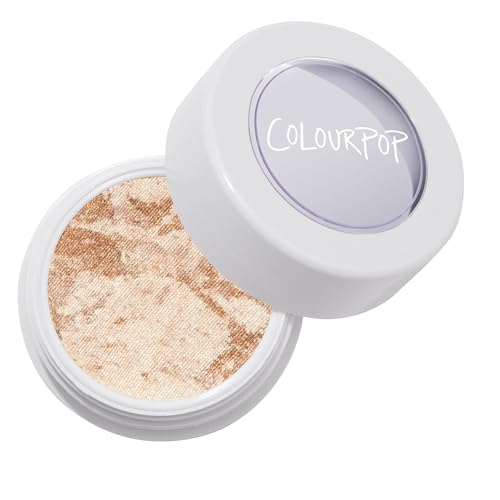
Finally, I use the Colourpop Super Shock Highlighter to illuminate my face slightly! This highlight has a very natural finish to it that catches the light, but looks super natural.


Step 7: Eyes, Brows, and Setting Spray
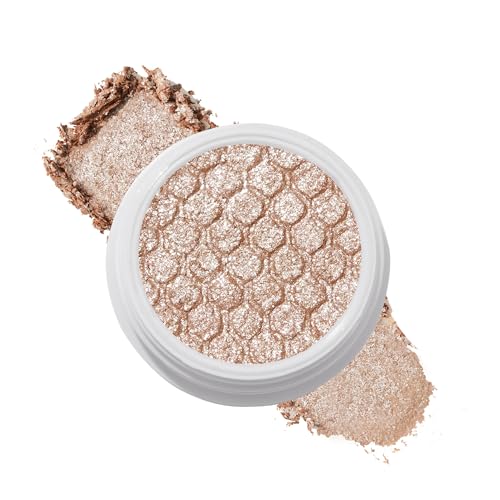
My favorite part of my makeup process is adding eyeshadow! I like to add a swipe on bronzer for depth to my lid before adding the Colourpop Super Shock Eyeshadow in the shade “Ritz”. I use my finger to apply this to get the most shimmer effect! This eyeshadow is a more affordable option for the Urban Decay Space Cowboy.
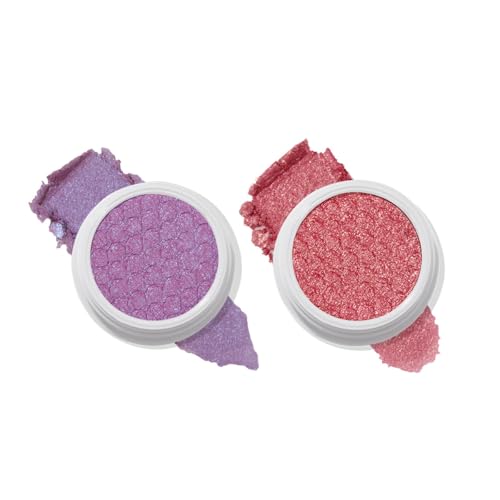
Next, I highlight my inner corner and browbone with another Colourpop Super Shock Eyeshadow in the shade “Tassel”.
I use my brow pencil for different purposes! I’m brunette, so I use a rich brown color that I love to use for a subtle eyeliner look before filling in my brows.
Finally, I set my face with the Milani Make it Last Matte Setting Spray. This Truly is CRUCIAL for my makeup lasting long on my oily skin. Many compare this setting spray to the Urban Decay All Nighter Setting Spray. The charcoal components of this spray help absorb oil throughout the day and truly makes my makeup last. I’ve even found if I’ve still over-wear my makeup and it starts getting greasy, I can simply re-spray it with the setting spray and blend gently with a beauty blender and my skin almost look completely fresh again!


Step 8: Mascara
I am SO picky about mascara. I want something that gives my eyelashes some volume, but lengthens without getting clumpy, and this mascara does it! This is one that many makeup artist go to, and I understand why now that I use it! It truly gives a false lash effect.
Something that has also been surprisingly important for keeping my eyelashes from clumping is doing a swipe of eyelash primer before mascara. I used to think eyelash primer was a scam before I tried this stuff and truly it has made a world of difference in the way my lashes look and last throughout the day!


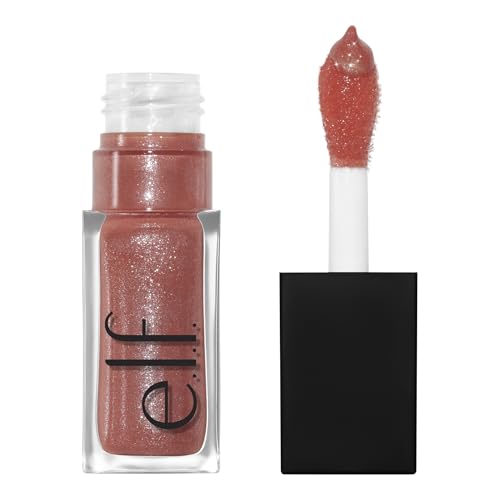
Finale: Lips
I like to keep things simple with my lips! A natural liner to give definition to my lips topped with my favorite shimmery lip oil is the way to go! The shimmer in the lip oil is so fun but not too unnatural looking, which is a huge plus for me as a glitter lover!